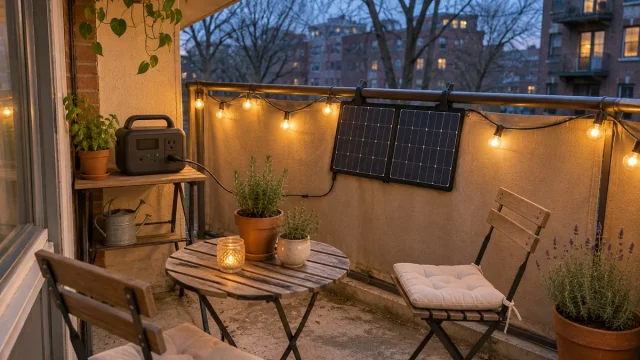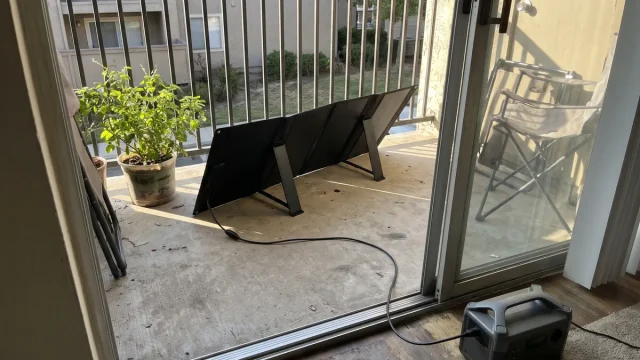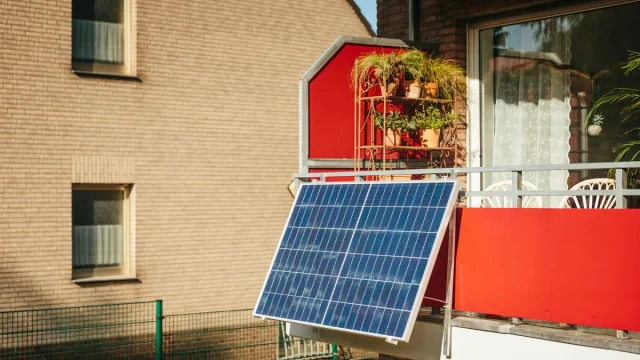
If you want to plug in solar panels for a balcony, the setup is three parts: one to three panels clamped to your railing, a microinverter, and a cord that goes into a grounded 120V outlet. In the US, the kit has to be legal where you live, small enough for your state’s cap (usually 1,200 watts), and mounted without drilling or leaving anything that can fall. Do those three things and a renter can have it running in an afternoon and take it along at move-out.
Plug-in solar has limits. An 800W kit saves roughly $105 to $450 a year depending on your sun and your electric rate, and the numbers below show where yours will land. Prices and laws in this guide were checked in October and November 2026, and both are changing fast.
Quick answer
- What it is: A plug-in balcony solar kit (panels, microinverter, power cord) that feeds a standard outlet. No roof, no panel work, no installer.
- What you need: A grounded outlet (GFCI outdoors), about 4 hours of direct sun, a no-drill mount, and a kit that fits your state’s rules.
- Cost: Roughly $285 to $800 for 180W to 400W starter kits, $1,100 to $2,000 for 800W kits (US brand stores, October 2026).
- Savings: About $105 to $450 a year for an 800W kit, depending on tilt, sun and local rates. Payback runs from about 3 to 14 years.
- Catch: No federal tax credit for a kit bought in 2026, no pay for power you send back, and it shuts off in an outage.
What Are Plug-In Balcony Solar Panels?
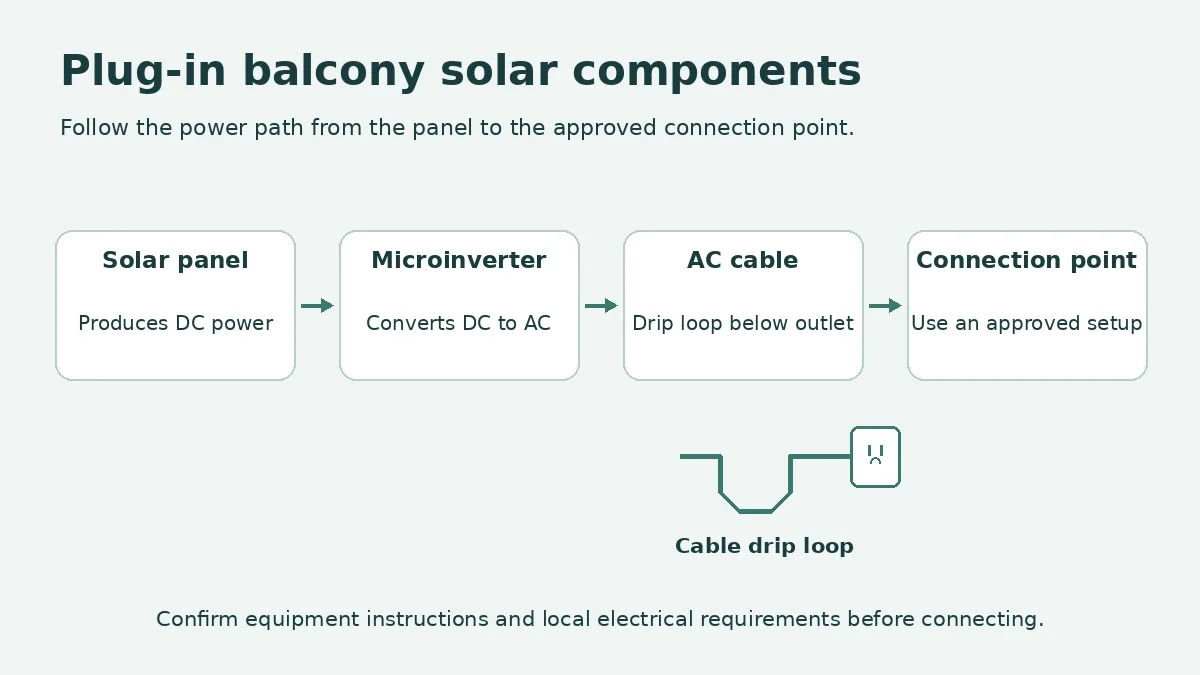
Plug-in balcony solar panels are small solar kits built to power your own apartment through a wall outlet. A microinverter turns the panel’s DC power into the AC power your lamps and fridge already use, and your home uses that electricity first. You will also see the same idea sold as plug in balcony solar panels, balcony plug in solar kits, balcony plug-in solar, or plug-and-play solar. They all describe one thing.
People often ask about plug-in or balcony solar as if they were two products. They are the same product with two names. The “balcony” label just describes where renters usually put them. The only real split is between a grid-tied kit (plugs into a wall outlet and offsets your whole apartment) and a portable panel (charges a battery or power station and powers only what you plug into it).
Quick check when you shop: real balcony solar panels plug in to a wall outlet, so if the product page never mentions one, it is a portable panel. Portable panels are fine for charging a laptop or a power station, but they will not shave your electric bill. The rest of this guide covers the grid-tied kind.
Three limits are worth knowing now. A certified microinverter shuts down when the grid goes dark, so the kit will not keep your lights on in a blackout. None of the state laws I found pays you for power you send back, so savings come only from electricity your apartment uses while the sun is up. And an 800W kit will not replace your utility. It covers somewhere around 11% to 22% of a typical apartment’s yearly use, based on the PVWatts figures later in this guide.
For the plain-English version of how the technology works, see What Is Balcony Solar? How It Works, Cost & Whether Renters Can Use It. For the inverter and safety details, see How Do Balcony Solar Panels Work? Inverters, Outlets & Safety.
Can Renters Plug In Solar Panels on a Balcony?
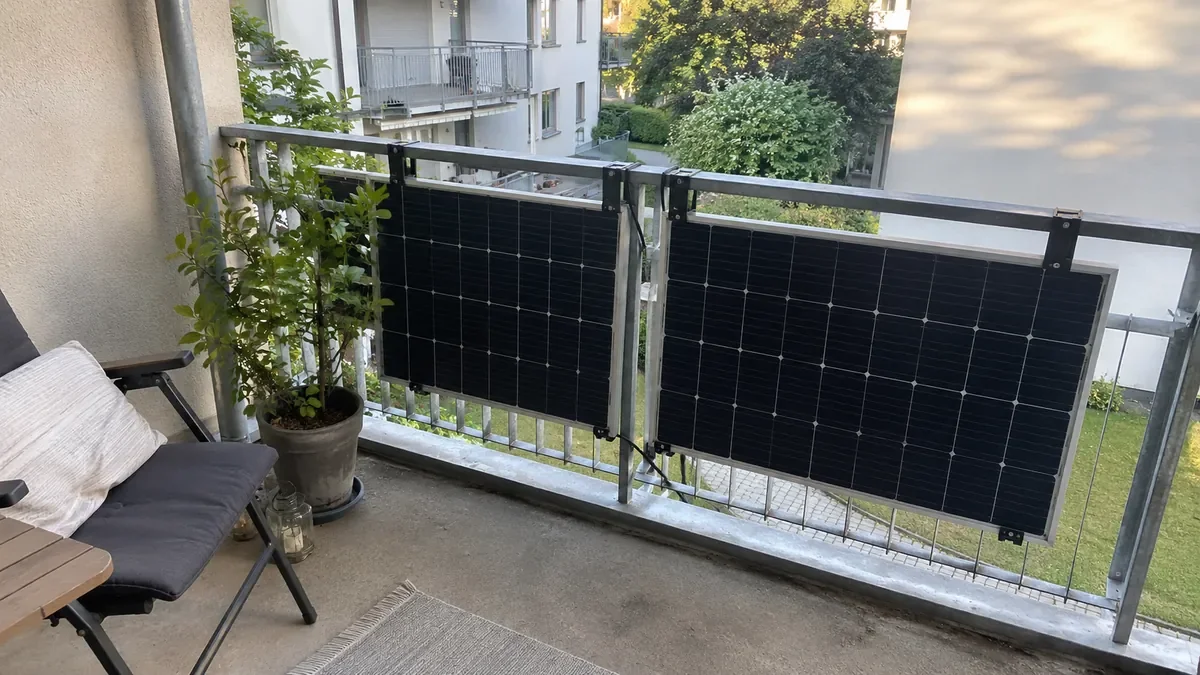
Often yes, but two separate things decide it: your state, and your lease. A state law can stop your utility from blocking a small kit. It does not automatically override a lease clause about attaching things to the building.
As of late 2026, Solar.com lists ten states with plug-in solar laws: Utah, Maine, Maryland, Vermont, Colorado, Connecticut, Virginia, New Hampshire, California and New Jersey. The first six are already in effect. Virginia, New Hampshire and California start January 1, 2027, and New Jersey starts March 1, 2027. California’s SB 868 was signed September 30, 2026, caps a home at 1,200 watts, requires a complete system certified by UL or an equivalent lab (including an outage shut-off), and sunsets January 1, 2030 unless extended. Other outlets count 11 or 12 states, so the number depends on who is counting and when.
In a state with no law, the rooftop-style interconnection rules can still apply, and some utilities want to be told before you plug in. Do not guess. Check your state in what states allow plug-in solar first. If you live in California, Plug-In Solar in California: Rules for Renters covers the details.
Plug In Solar Power Systems on Balconies – What You Need
A complete setup needs five things. Skip any one and the project stalls.
- A legal, certified kit. Look for UL 1741 on the microinverter at minimum. UL 3700, the first standard written for plug-in solar, was published in December 2025. Reports conflict on which products are fully listed, so ask the seller for the actual listing before you pay.
- An outlet that can take it. Grounded, 120V, and ideally on a lightly loaded circuit.
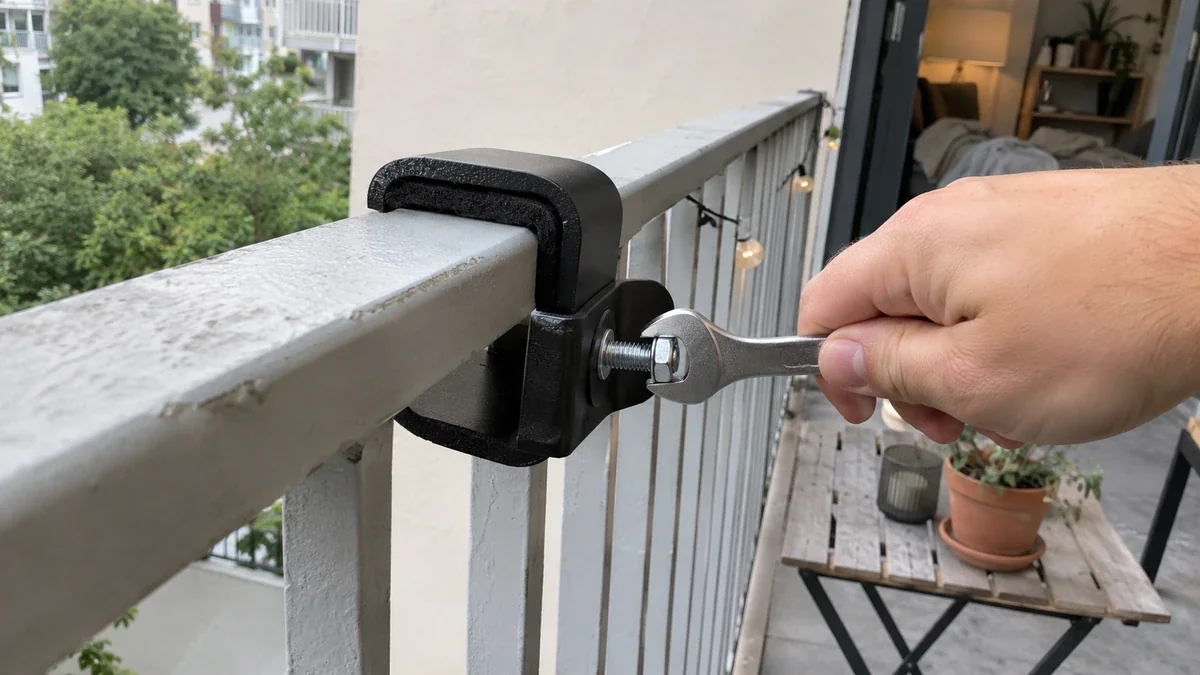
- A no-drill mount. A rail clamp, a strap system, or a weighted floor stand.
- Enough sun. About 4 hours of direct light. A shadow over just 10% of a panel can cut its output by half or more, according to Solar.com, so bars from your railing matter.
- Permission in writing. Even when the law is on your side, a short email protects your deposit.
Tools are minimal: a screwdriver or wrench for the clamps, a tape measure, UV-rated zip ties, and a phone for before-and-after photos.
How to Choose the Right Outlet for Balcony Solar Plug In
The outlet is the first thing to check, because a kit with no safe place to plug in is useless. Use a standard grounded 120V outlet, the three-prong kind your lamps use. A GFCI outlet (the one with test and reset buttons) is the best choice outdoors, since balconies see rain and damp.
Here is how to pick a good one:
- Choose a lightly loaded circuit. The outlet’s circuit still has a rating. If it also runs a space heater, a window AC or a microwave, you can trip the breaker. A circuit that serves only that outlet is ideal. Before you plug in balcony solar panels, find out what else shares that circuit. Not sure? Ask a licensed electrician.
- Do the circuit math. A 15-amp circuit handles about 1,440 watts of continuous load (15 amps x 120 volts x 80%). A 20-amp circuit handles about 1,920 watts. An 800W kit draws roughly 6.7 amps. A 1,200W kit draws about 10 amps.
- Skip extension cords, power strips and adapters. Every maker says this because it is the leading cause of trouble. The kit’s own cable is outdoor-rated and sized for the load. If it does not reach, move the panels.
- Inspect the outlet itself. If it is loose, warm, discolored, or has no ground, call an electrician before plugging in anything.
No outdoor outlet? Many renters run the kit’s cable to an indoor outlet near the balcony door. That works if the cable is not pinched in the door, is not a trip hazard, and does not lie in standing water. Leave a small sag in the cable just before the plug (a drip loop) so rain runs off instead of into the outlet.
Plug-In Balcony Solar Mounting Options for Renters
Mounting is where renter rules matter most, because a solar panel on a balcony is also a sail. A typical 200W panel is roughly 5 feet by 2.5 feet and weighs about 25 pounds, so two of them catch real wind, and wind gets stronger the higher you live.
Solar.com describes three mounting styles that work without drilling. The table adds what each one means for a renter.
| Mount type | How it holds | Best for | Watch out for |
|---|---|---|---|
| Rail clamp | Padded metal clamps grip the railing, and the panel hooks on | Metal or wood rails of standard width | Check the clamp matches your rail’s diameter and weight rating |
| Strap or “solar fence” | UV-resistant tension straps woven through spindles hold lightweight flexible panels | Spindle (picket) railings | Flexible panels make less power per square foot |
| Weighted floor stand | Triangular rack held by sandbags or pavers | Glass railings, or buildings that ban anything over the edge | Needs floor space, and wind rating matters |
| Wall mount with anchors | Drilled into brick or concrete | Owners only | Drilling needs written landlord approval, so skip it as a renter |
Two mounting details decide most of your savings. Panels hung upright on a railing produce about 32% to 42% less than the same panels tilted 30 degrees toward the sun, based on PVWatts data published by Solar.com. If your mount tilts, use it. Direction matters almost as much: a west-facing railing in Los Angeles makes about 16% less than a south-facing one, and a north-facing railing makes roughly a quarter of south-facing output.
For wind, check that the hardware is rated for your local wind zone and add a secondary tether, such as a steel cable or strap looped to a solid part of the railing. If anything sticks out past the railing, your building may ban it because falling equipment can hurt someone below. That is another reason to ask first.
Plug In Solar Panels for Balcony Use – Step-by-Step Setup
Most plug in solar panels balcony installs take one to two hours. Work in daylight, keep the panels shaded or face-down while you handle connectors (a panel is live whenever light hits it), and follow your kit’s manual over any guide, including this one.
- Check your state and watch your sun. Confirm your state’s law is in effect, then observe the balcony at midday. Note what shades it and for how long. You want about 4 hours of direct sun.
- Pick a kit size. Stay at or under your state’s cap (usually 1,200W; Colorado’s is 1,920W). Match size to daytime use. Someone home with a fridge, router and laptop running gets more from 800W than someone out all day.
- Choose the outlet. Find the nearest grounded outlet on a lightly loaded circuit. Measure the cable run against the kit’s cord length (Bright Saver’s kit, for example, includes a 15-foot cord).
- Take “before” photos. Photograph the railing, the outlet, and the wall from fixed angles. Keep them dated.
- Mount the panels. Assemble brackets on the floor, then clamp them to the rail using the rubber pads. Tilt the panel if the mount allows it, leave airflow behind it, and add the anti-lift tether. Re-check every fastener.
- Connect panel to microinverter. Push the MC4 connectors together until they click. Route DC cables with UV-rated ties and no tight bends.
- Plug into the outlet. Run the AC cable with a drip loop and plug it straight into the wall. No cords, strips or adapters. The microinverter starts when it senses sun.
- Confirm output and save the paperwork. Check the app or LED in daylight. Photograph the finished install, and keep the receipts, manuals and spec sheet.
Plug-In Balcony Solar Panels – Kits and Prices
The market is small, stock is limited, and listed prices swing between sellers, so treat everything here as a range. Solar.com surveyed US brand stores in October 2026 and found about $285 to $800 for 180W to 400W starter kits, $1,100 to $2,000 for 800W kits, and $2,250 to $3,050 for 1,200W kits. That works out to roughly $1.15 to $2.80 per watt, before shipping and tax. Most balcony solar panels plug-in kits are priced by size, so compare dollars per watt before you compare sticker prices.
| Kit type | Size | Typical price | Notes (source and date) |
|---|---|---|---|
| Starter, e.g. Bright Saver | 180W to 360W | About $299 member, $399 non-member on the nonprofit’s site; some retail listings run $499 to $700 | Bright Saver sells kits at cost with a $29 annual membership; listings differ by date |
| Budget 800W, e.g. PluggedSolar | 800W | About $699 to $945 | Four panels and a UL 1741 microinverter, sold on Amazon (The Gadgeteer, mid-2026) |
| Mid-range 800W kits with mounts | 800W | From about $969; Solar.com’s survey range is $1,100 to $2,000 | Example: US Solar Supplier 810W from $969 (The Gadgeteer, May 2026) |
| Battery system, e.g. EcoFlow STREAM Ultra | 1.92 kWh battery with built-in inverter | From $1,199 (The Gadgeteer, May 2026); bundles with panels cost more | Stock and approved states vary, so confirm before ordering |
| Inverter only | n/a | Varies | For people who already own panels |
A few buying notes from the spec sheets and buyer chatter. If you search for balcony solar plug in panels, filter by certification first and price second.
- Check the cap before the price. A 2,000W kit exceeds the 1,200W cap in most state laws, so it is the wrong buy for a rental.
- Battery kits solve a different problem. They shift daytime power into the evening, which matters if you are out all day. They also cost far more per watt.
- Read the shipping page. Some sellers ship only to states where the kit is legal.
- Ask for the certification file. A claim that a kit “meets” a standard is not the same as a listing.
For a full comparison including batteries, see Best Balcony Solar Kits for Apartments (With Battery Options).
What Plug-In Balcony Solar Saves – Worked Math
Your electric rate decides everything. The EIA expects a US residential average of about 18.2 cents per kilowatt-hour for 2026, but state rates run from under 14 cents in Utah to over 33 cents in California (Solar.com, citing EIA January to July 2026).
The table uses PVWatts output for an 800W south-facing kit, and each state’s average rate. I multiplied kWh by the rate and rounded to the nearest dollar.
| City (state rate) | Upright on rail (kWh/yr) | Value | Tilted 30° (kWh/yr) | Value |
|---|---|---|---|---|
| Los Angeles, CA (33.25¢) | 794 | $264 | 1,366 | $454 |
| Newark, NJ (23.98¢) | 711 | $171 | 1,072 | $257 |
| Baltimore, MD (21.30¢) | 745 | $159 | 1,139 | $243 |
| Denver, CO (16.72¢) | 889 | $149 | 1,316 | $220 |
| Salt Lake City, UT (13.16¢) | 800 | $105 | 1,219 | $160 |
Payback uses a mid-range 800W kit price of $1,500 as an example. In Los Angeles with a tilt, $1,500 divided by $454 is about 3.3 years. In Denver with a tilt, $1,500 divided by $220 is about 6.8 years. In Salt Lake City with the panel hanging upright, $1,500 divided by $105 is about 14.3 years. The same hardware can take 3 years or 14 to pay for itself.
For a sanity check, EnergySage estimates an 800W system produces roughly 70 to 110 kWh a month and saves about $13 to $21 monthly, with up to about $50 in high-rate states. That lines up with the table.
Two honest caveats:
- You only save on power you use as it is made. If your apartment is empty all day and nothing is running at noon, your real savings will be lower than these figures.
- There is no federal tax credit for a 2026 kit. Solar.com reports the homeowner credit ended at the end of 2025. Some seller pages still mention a 30% credit. Do not count on it.
Landlord, Lease and Deposit – What to Check Before You Plug In
This is the part most solar guides skip, and it is the part that costs renters money. Handle it in this order: tracker, lease, landlord.
Check the lease for two things. First, any clause about alterations, fixtures, or attaching items to the building exterior, because a balcony rail counts. Second, any clause about electrical work or appliances. A plug-in kit is closer to an appliance than an alteration in most places, but a lease that names “solar panels” needs a real conversation.
Know where the law helps. A few state laws also limit landlord or HOA bans on plug-in kits, and details differ by state. In states that only stop the utility from blocking you, your landlord still has a say. Use the state tracker for your state’s specifics, and do not treat a summary in a setup guide as legal advice. If a lease dispute looks likely, a local tenant organization or attorney can tell you more.
Ask in writing, with specifics. Landlords say yes more often to a documented request. Here is a short template:
Hi [Name], I’d like to install a removable plug-in solar kit on my balcony railing at [unit]. It clamps on with no drilling, plugs into the existing outlet, and has a UL-listed microinverter. I’ll remove it and restore the balcony when I move out. The spec sheet is attached with dimensions, weight and wind rating. Could you confirm in writing that this is okay? Thank you, [Your name]
Protect your deposit. Take dated photos of the railing, outlet and wall before you start. At move-out, remove the kit a day early, wipe the railing, and photograph the same angles again. A clamp that rubs paint is easy to explain with before photos. For more on documenting a rental, see solar panels for apartments and renters.
Taking Plug-In Solar Down at Move-Out
Removal is the install in reverse and takes about 30 to 60 minutes. Unplug the microinverter from the outlet first. Then disconnect the panel cables, loosen the clamps, lift the panels off, and pack them in the original boxes if you still have them. Keep all clamps, cables and bolts together in one labeled box, since those small parts are the ones people lose. A plug in solar balcony setup is easier to reverse than almost any other solar project, but only if you keep the parts.
Finish by wiping the railing, checking for scuffs where the rubber pads sat, and taking your after photos. A touch-up marker handles most small paint marks. Nothing is left behind in the wall, which is why a balcony solar plug-in kit ranks among the more deposit-safe upgrades you can make.
Mistakes to Avoid With Balcony Plug-In Solar Panels
- Buying before checking your state. The costliest mistake is a kit you cannot legally use where you live, or one over your state’s cap.
- Using an extension cord or power strip. Makers repeat this warning because it causes real problems. Move the panels instead of stretching the cord.
- Hanging panels flat with no tilt and no tether. You give up roughly a third of your output, and an unsecured panel on an upper floor can lift in a gust.
- Counting on a tax credit. For a 2026 purchase, none applies.
- Ignoring shade. Rail bars, a balcony above, or a nearby building can cut output sharply. Watch your sun for a full day before you buy.
- Skipping the landlord email. It takes five minutes and creates a record you can point to later.
- Buying the biggest kit. More watts do not help if your state caps you lower or your balcony faces north.
FAQ – Plug In Solar for Balcony
Can renters plug in solar panels on a balcony?
Often yes. Ten states have plug-in solar laws as of late 2026, and a no-drill kit is an easy request for most landlords. Check your state’s status and effective date, then ask your landlord in writing with the spec sheet attached. In a state with no law, ask your utility before you plug in.
What outlet do plug-in balcony solar panels need?
A standard grounded 120V outlet, ideally GFCI outdoors and on a lightly loaded circuit. A 15-amp circuit handles about 1,440 watts of continuous load, so an 800W kit fits well. Never use an extension cord, power strip or adapter. If the outlet is loose, warm or ungrounded, call an electrician first.
How much does a plug-in balcony solar kit cost?
About $285 to $800 for 180W to 400W starter kits and $1,100 to $2,000 for 800W kits in October 2026, per Solar.com’s survey of US brand stores. Battery systems cost more. Prices vary by seller and date, and there is no federal tax credit for 2026 purchases.
Does plug-in solar work on a north-facing balcony?
Barely. A north-facing railing makes roughly a quarter of what a south-facing one does, which could turn a tilted 800W kit’s 1,366 kWh in Los Angeles into around 340 kWh. If your balcony faces north and sits in shade, a portable panel you can aim at the sun may make more sense than a grid-tied kit.
Can I take my balcony plug-in solar panels with me when I move?
Yes, and that is the main appeal for renters. Unplug the microinverter, disconnect the cables, unclamp the mounts, and pack everything up. It takes under an hour and needs no electrician. Keep clamps and cables together so nothing goes missing.
Will plug-in balcony solar damage my balcony or my deposit?
Not if you use clamps, straps or a ballast stand, since none need holes. The small risks are a scuffed railing finish and a clean patch where the panel shaded the rail. Use the rubber pads, photograph before and after, and remove the kit before your move-out inspection. Anything that needs drilling should wait for written landlord approval.
Conclusion – Your Next Step
To plug in solar panels for balcony use as a renter, check your state’s law, confirm your lease, pick a certified kit at or under your cap, clamp it on with a tilt and a tether, and plug it into a grounded outlet. The savings are real but modest, and your tilt, sun and electric rate decide them. Start with the state tracker, then send the landlord email before you order.
Related reading: solar panels for apartments and renters, what states allow plug-in solar, and Best Balcony Solar Kits for Apartments (With Battery Options).
Sources: Solar.com, “Plug-In Solar Panels: The 2026 Guide to Balcony Solar” and “The Renter’s Guide to No-Drill Balcony Solar”; EnergySage, “Plug-in & balcony solar panels: Are they worth it?”; U.S. Energy Information Administration Short-Term Energy Outlook (2026 residential price); UL Solutions (UL 3700 announcement); Bright Saver product pages. Prices last checked November 18, 2026.